Creating the Report
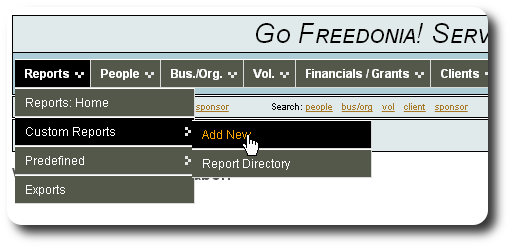
To create our new custom report, we select "Reports / Custom Reports / Add New":
Next we give the report a name, and some notes, and select the report type. This report will work with clients and personalized tables associated with clients. Since we want to share this report with other staff members, we will not mark the report private.

Next we select which fields we want to see in the report. Our selection list includes the fields from the parent record (clients), as well as fields from all personalized tables that the report creator is authorized to view:

We expand the list to view fields from our table "Guardian and Medical Contact":

We include some of the fields from this personalized table....

The report won't use any fields from the table "Supplimental Info", so we clear the fields, then save our selections.

We are returned to our custom report record:

Let's run the report and see how it looks!

Since we haven't yet qualified our report or set up a sorting order, we see all of our clients:

We use the bottom slider bar to view fields that extend out to the right of the report:
