Item Categories
The first step to managing your inventory with Delightful Labor is to define item categories. This will help you organize the items you wish to manage.
In this example, we are going to create the following categories:
- Office
- Electronics
- Computers
- Laptops
- Desktops
- Servers
- Cameras
- Projectors
- Computers
- Keys
- Main Office
- Satellite Office
- Classrooms
- Vans
- Electronics
- Client Services
- Lending Library
- Fiction
- Non-fiction
- Cell Phones
- Laptop Loans
- Lending Library
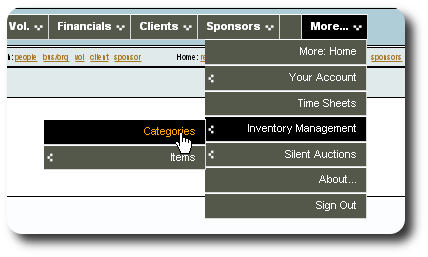
To begin, we select "More / Inventory Management / Categories":
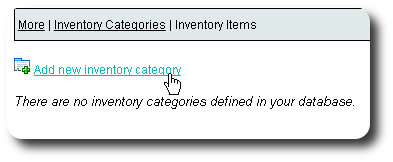
Initially there are no inventory categories. We click on the link to add a new category:
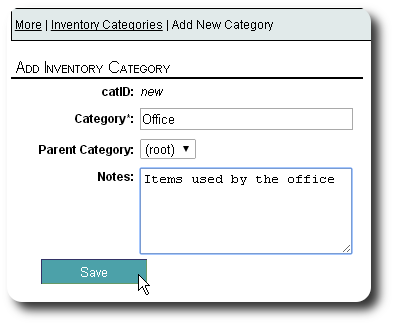
We add "Office", with the parent category as "(root)". "(root)" just means the topmost category.
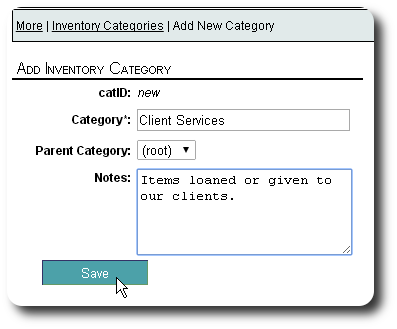
We next add "Client Services":
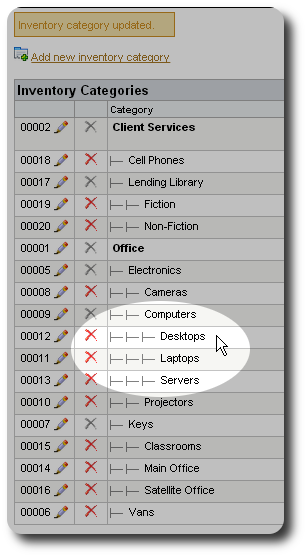
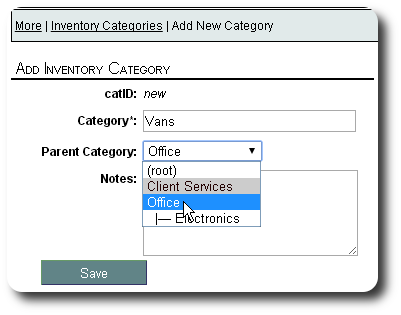
We add "Vans" as a sub-category to "Office". Note that top-level categories (those under "root") are highlighted.
We continue adding categories until we are finished. Note that you can add categories at any time, and transfer categories (as well as any assigned items) to any other parent category.
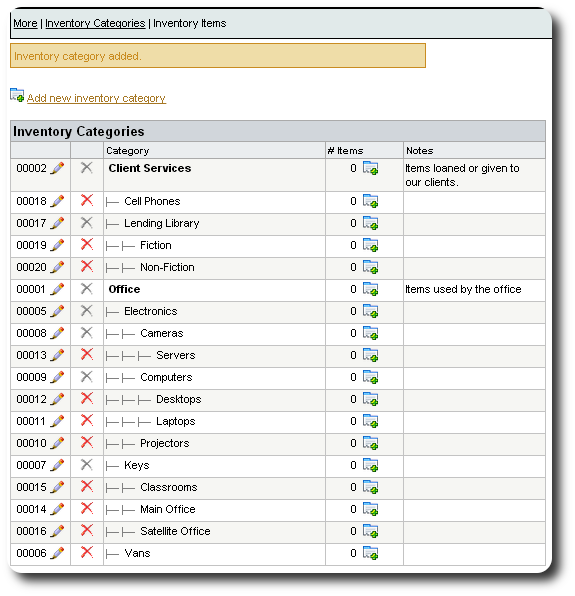
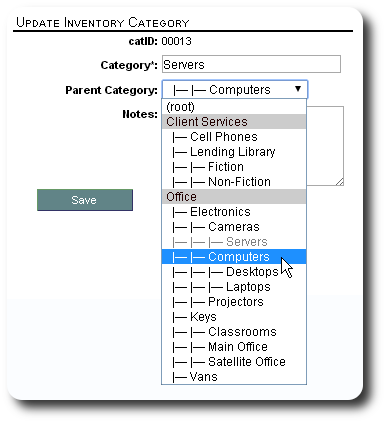
But wait! We notice that we've placed "Servers" under "Cameras", when we meant to place it under "Computers". We click the edit icon (![]() ) to correct the problem:
) to correct the problem:
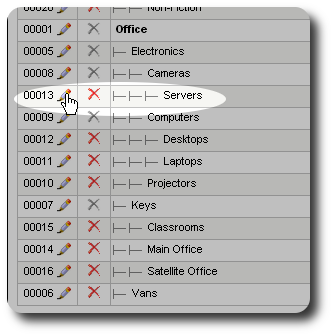
We change the parent category to "Computers":
We now see that the category "Servers" is under the correct parent category ("Computers"):