Adding Inventory Items
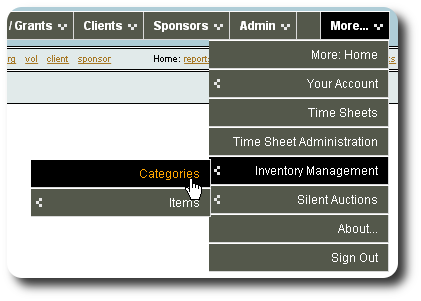
After setting up our categories, it's time to add the inventory items. We return to the inventory category list by selecting "More / Inventory Management / Categories":
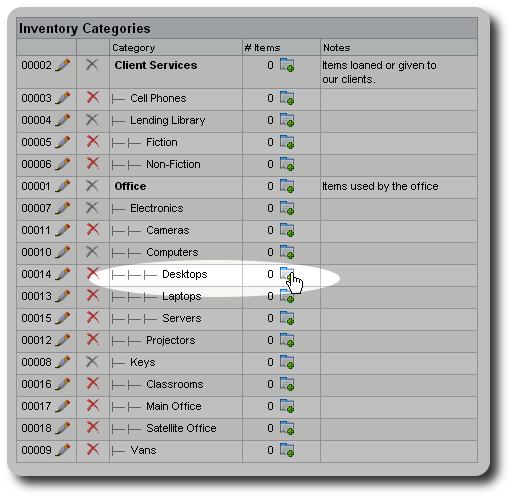
Next, click the "Add Item" icon (![]() ) under the appropriate category:
) under the appropriate category:
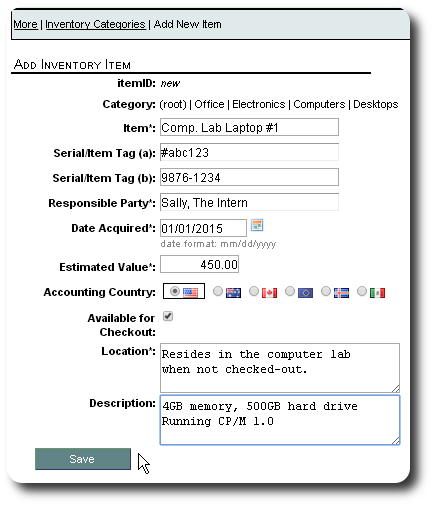
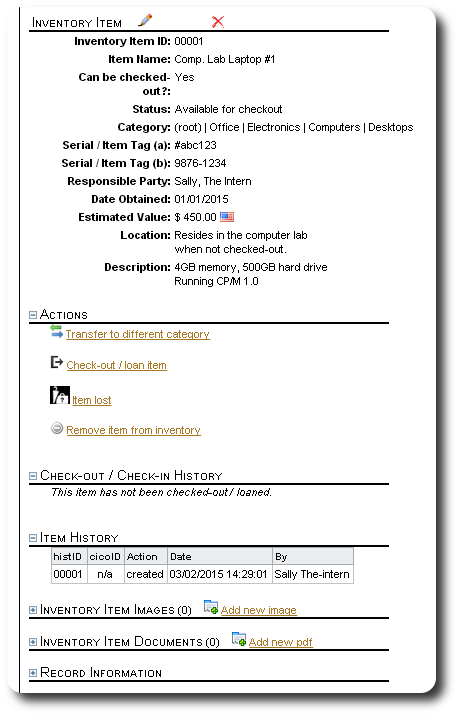
We now see complete the inventory item form. Note that if you need to change the category at a later time, you will be able to via a category change utility.
After saving the item, we're returned to the inventory item record. From the record, you can:
- perform a variety of actions, like checking in or checking out the item
- upload images or documents (like sales receipts) associated with the item
- view the entire history of the item
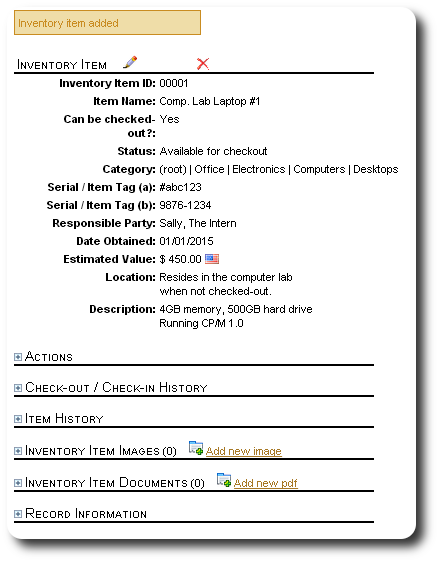
Under the "Action" section, you'll see available actions based on the state of the item. For example, since this laptop has been marked "available for checkout" but has not been loaned, you see an action for check-out (but don't see one for check-in).
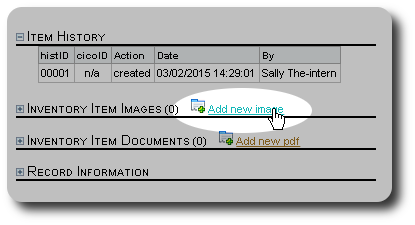
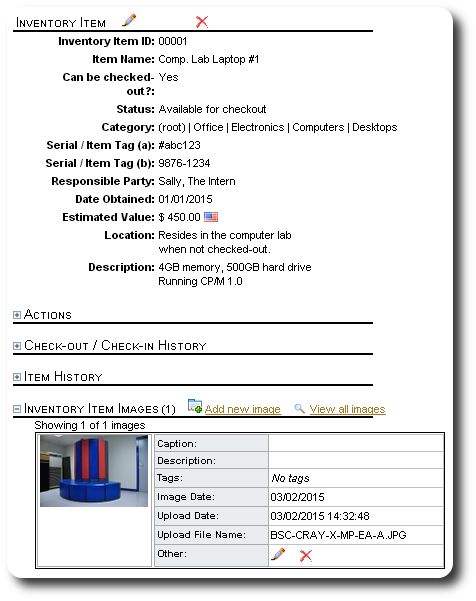
You can add images, documents, and associated image/document tags to the item:
Here's an image of our not-so-portable laptop:
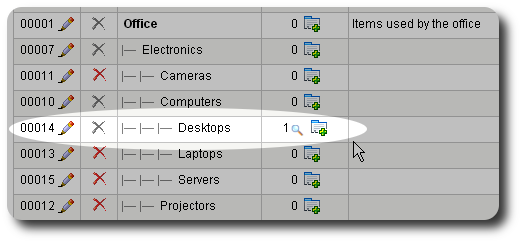
If we return to the inventory category list....
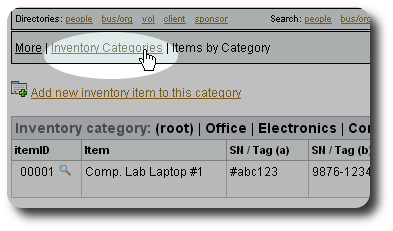
We now see one item under "Office/Electronics/Computers/Desktops":
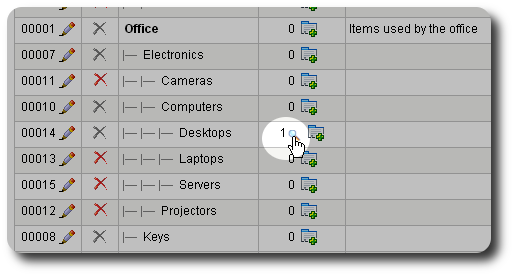
We can view a catalog of all the items under this category by clicking on the view (![]() ) icon:
) icon:
We now see the items under this category:
