Creating the Database
Next we create a mySQL database on your web server. The database will hold all of the information you enter into Delightful Labor. After logging into your web hosting account, you will see the familiar cPanel screen (note that this screen varies a bit between different web hosting companies).
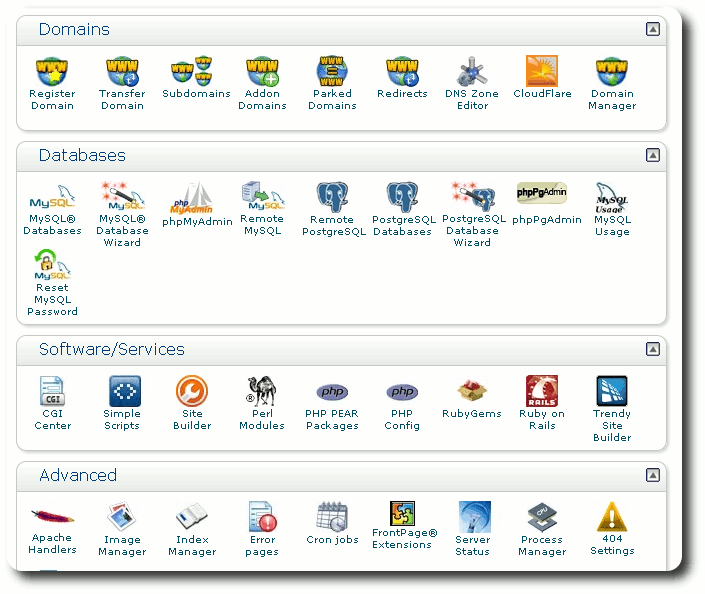
We now work our way down the cPanel screen until we come to the database section. Click the link to work with mySQL databases:

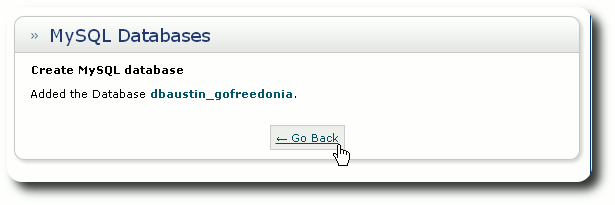
Now location the section to create a new database. cPanel may prefix your database name with your account name (in this example, the account name is "dbaustin").

cPanel lets us know that the database was successfully created. We click the "Go Back" link to return to the main mySQL page.
Next we need to create a database user account. This user account will later be used to provide the necessary credentials to allow access to the new database. Again cPanel may prefix the user name with the web host account name.
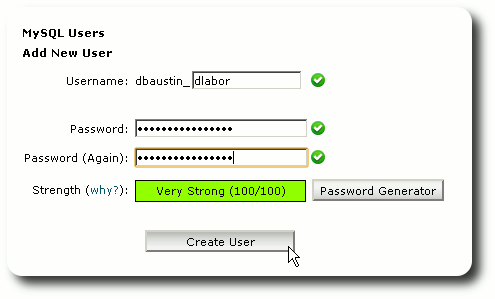
After clicking the "Create User" button, cPanel confirms the new user account. We click "Go Back" to return to the mySQL management screen.

Now we must associate the user account with our Delightful Labor database. Locate the section that allows you to add a user to a database, then select the newly created user account with your new database:
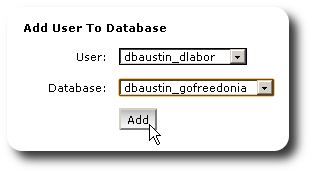
We now indicate what permissions and privileges the new user has.
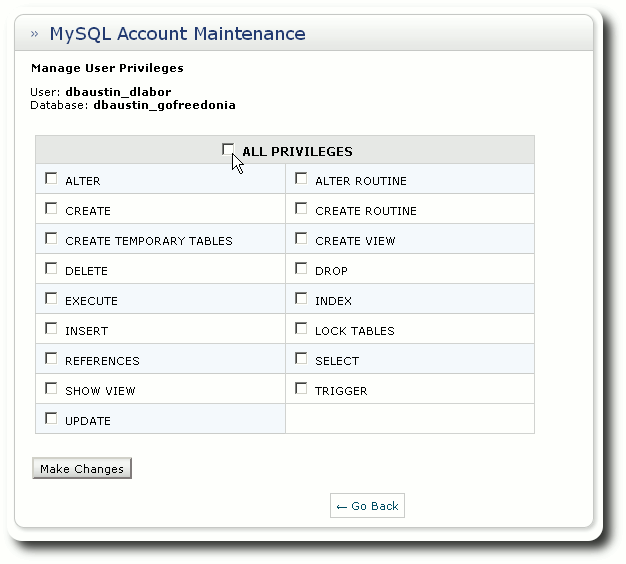
Click the "All Privileges" checkbox and then click "Make Changes":
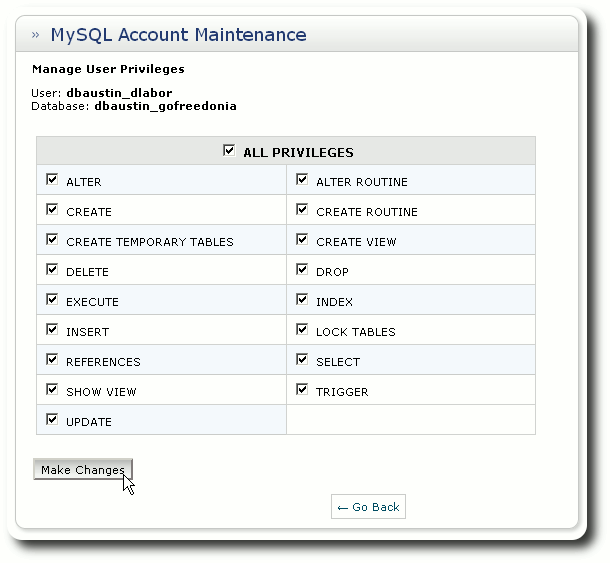
cPanel confirms the addition of our new user to our Delightful Labor database. Click the "Go Back" button to return to the mySQL page.

At this point, you've created a new, empty database with an associated user.
