Editing Personalized Tables (Single-Entry)
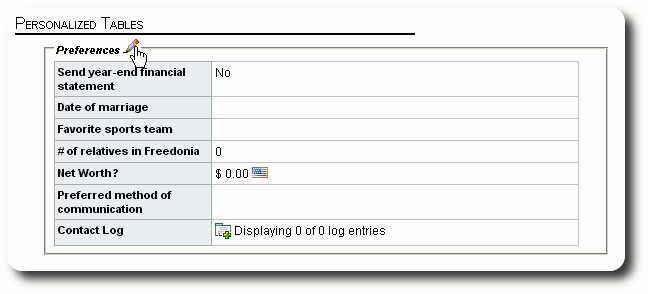
After adding personalized tables to your database, you will want to edit the information on a per-record basis. In our example, we have created a personalized single-entry people table. As we look at the people record for Mr. Rufus T. Firefly, we see the default entries for table Preferences. To edit the entries, we click on the edit icon:
We now see the edit screen for the Preference table for Mr. Firefly. To edit an individual field, click on the edit icon. Note that log fields are not editable here. Later we'll see how to add and edit log entries.
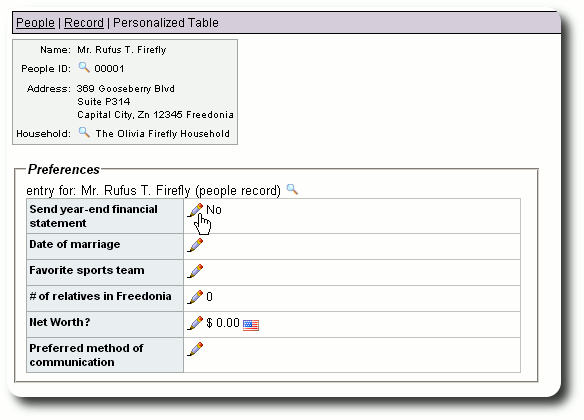
We click on the edit icon for the checkbox "Send year-end financial statement":
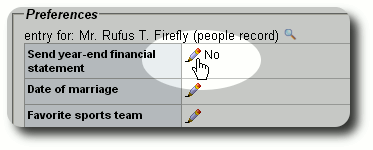
We check the checkbox to indicate that Mr. Firefly would like a year-end statement. The table entry is not saved until we click the "Save" button.
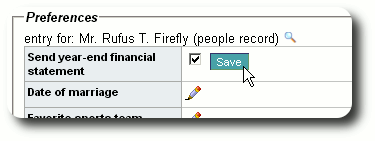
We see that our checkbox was updated. We will now edit the "Date of marriage" field:
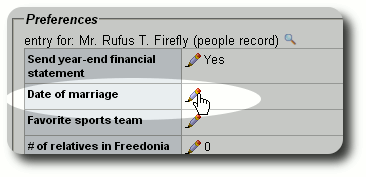
We are presented with a date field. Like all date fields in Delightful Labor, you can click on the calendar icon to see a calendar. Click the appropriate date on the calendar to populate the date field.
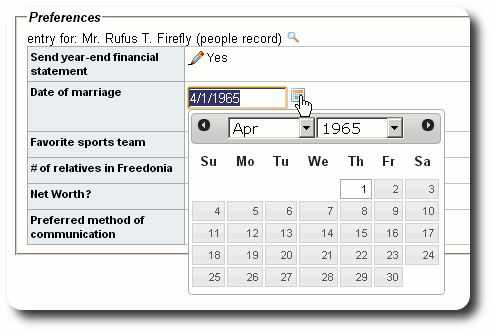
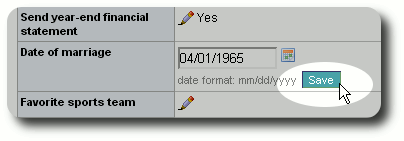
Again remember that the date is not saved until you click the "Save" button:
Here is an example of editing the currency field. Note that the associated account flag is shown as a reminder. Again click "Save" to save your entry.

The next example shows the selection of an entry from a drop-down list. Initially the field is blank since no selection has been made. We click the edit button to view the drop-down list:
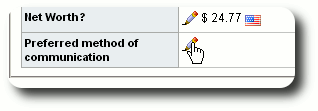
We now see the drop-down list and make our selection:
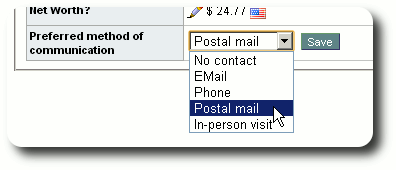
Again note that we must click the save button to record our selection.

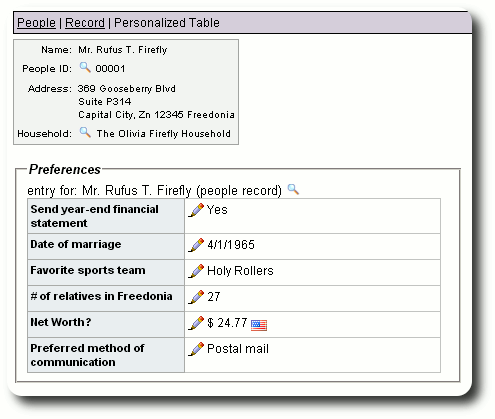
Here's what the personalized table edit screen looks like after we make all our changes:
Log Entries
We now return to the parent record (in this case Mr. Firefly's people record). We see the personalized fields have been updated, and now we'd like to make log entries. We click on the "Add New" icon in the log field:
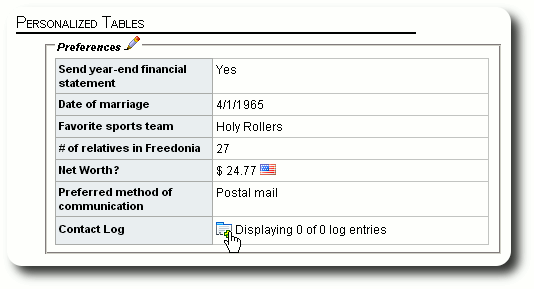
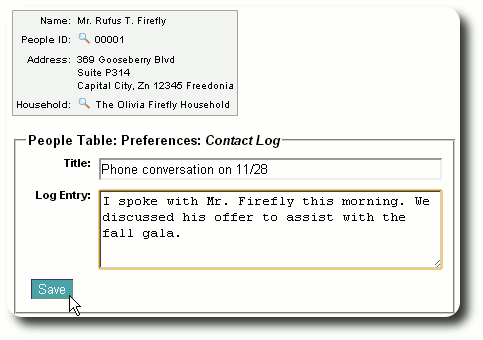
We now see the log edit screen, where we enter a title and a log entry. Your log entry can be as long as necessary. After making the entry, we click "Save".
Over time, we continue to add log entries. On the parent record, Delightful Labor shows the five most recent log entries. It may also truncate text if the entry is too long. The helps keep the parent record from becoming too unmanageable.
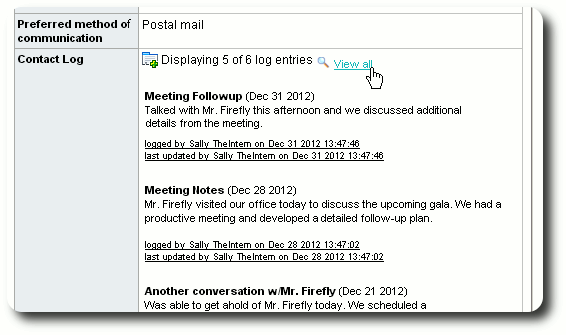
If we want to see the entire log history, we click on the "View all" link:

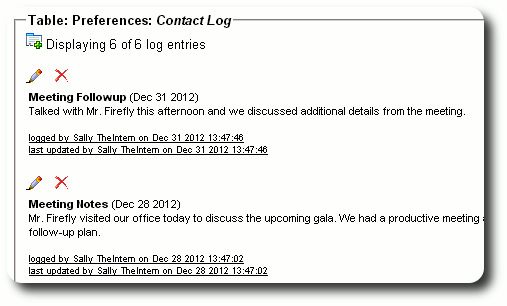
We now see all the entries in the log. From this screen we can add, edit, or remove log entries:
